3 Tips for Getting Sharper Photos | G. Lin Photography Education

Hey friends! Are you struggling to get clear, sharp photos with your DLSR? This is probably one of the top questions I get from clients or friends, and I TOTALLY remember wondering the same thing when I started out. I was frustrated that I was getting "soft" or blurry photos, and was on a mission to learn how to get crisp images. I've learned it's all about controlling your body and your camera. Here are 3 easy tips that you can use today to start getting sharper photos!

1. Stabilize Your Body and Hand.

Seems like a no-brainer, but this is one of the most common reasons photos turn out blurry! If your hand isn't steady, you're basically adding motion to the camera, which will cause blur. Since most of us take photos hand-held and with no tripod, your camera will be more prone to camera shake. To reduce any camera movement, make sure you are holding your camera properly. Place your left hand underneath your camera body, around the base of your lens barrel, and keep your arms as close to your body as possible.

Here's another bonus tip: lean on something stable. This can be as simple as a wall, couch, fence, or tree! Leaning on something that's already stable will help support you and minimize any swaying. As you can see in the photo below, I chose to lean against the couch during a lifestyle family shoot.

Just remember, you are a human tripod. Get creative and constantly look for ways where you can minimize any body or hand movement.

 
Photo of me using the camera | Family Photographer in Raleigh NC | By G. Lin Photography
 

2. Switch to AF Single Point Focus.

Most DSLR cameras have 9, 11 or more autofocus points, and the AF Point Selection is normally defaulted to "Automatic Selection." That means the camera will use all of the AF points and decide which of the autofocus points to use, and you do NOT want this! Your camera can't choose the correct area to focus unless you tell it where you want to focus. The only way to guarantee accuracy, is to switch the AF Point Selection to "Manual Selection" (as seen in the photo below using a Canon 6D). You can then select the single AF point you want and tell the camera where to focus. This will ensure your camera will accurately focus where YOU want it to focus!

 
Close up shot of camera settings | Durham Family Photography | By G. Lin Photography
 

3. Use a Higher Shutter Speed.

I recommend using a minimum shutter speed of 1/125 for most situations. A higher shutter speed allows me to capture playful moments or quick action shots when I need it most (like the photo below!). I also recommend to really understand the "exposure triangle," which is the relationship between the ISO, aperture, and shutter speed. To learn more, check out my Pinterest board here for beginners and get a free cheat-sheet!

 
Durham Family Photographer | Mom playing with baby boy outside | By G. Lin Photography
 

Join my FREE photography community!

There you have it! These are three easy tips you can incorporate today, but remember, it takes time and practice to develop good technique. There are other advanced techniques I use, but I don't want to overwhelm you ;)

If you've found this helpful or have any questions, I'd love to hear from you! At the core of my being, I truly LOVE helping people (especially for those who want to become a better photographer!). Feel free to shoot me an email at genevieve@glinphotography.com or join my FREE Facebook group! This is a private group for anyone who wants to learn and chat photography. Whether you’re a hobbyist, photo enthusiast, or a newbie, this is safe place where you can ask questions and get feedback.

Have a great weekend and happy shooting!

-Genevieve

What to Wear for Family Photos: 5 Tips to Coordinating Outfits

As a family photographer, one of the most frequently asked questions I get is, "what should we wear for our family photo shoot?" Deciding what to wear for a family portrait can be daunting and stressful especially if you don't know where to start! I thought I'd write a quick blog post on on how you can plan your outfit as a family, and you can use this as a reference guide for your upcoming sessions. Scroll down to learn about my 5 tips to coordinating the perfect family outfit for your photo shoot!

1. Know your style!

Consider what you normally wear and what style best represents YOU! Do you like a clean and classic look, or are you more preppy and edgy? Or perhaps you like more of a vintage and bohemian look? Also, keep in mind when it comes to lifestyle photography, the idea is to be genuine and authentic. If you are normally a jeans-and-t-shirt type of family, then by all means go for a casual look! In a nutshell, dress in a style that BEST showcases who you are as a family. You'll look and feel more confident during your shoot!


2. Choose a color scheme.

Choose 2-3 main colors and dress within that color palette. For spring and summer sessions, it can get hot and humid, so I suggest wearing light neutral colors (e.g., creams, grays, whites) paired with earth tones to stay cool. This palette tends to complement well with any background! For fall and winter, warm colors (like burgundy, burnt orange, or navy) and neutrals (like creams and grays) are flattering to wear during cooler weather.


3. Wear solids and limit patterns.

Wearing solids tend to look excellent on camera. Incorporating some patterns and prints can look great, too, but make sure it complements the overall look! The key is to strive for a balanced look when wearing patterns or prints; otherwise, things can get too "busy" or distracting. I recommend wearing 75% solids and 25% patterns for a balanced look!


4. Layer your outfit.

Layering is a practical and easy way to build texture and interest in your photos. For example, during the fall and winter, I recommend adding a scarf, vest, cardigan, or jacket. These layers can help you and your kids stay warm during the shoot, and it makes it easy to remove them if you start to get too warm!


5. Consider adding jewelry and accessories to your outfit.

Wearing jewelry and accessories truly adds the finishing touch to your outfits! For example, a dainty necklace or earrings, or a pretty straw hat would be chic to wear and can help complete your overall look. Please note if you have young children, I would recommend wearing stud earrings versus dangly earrings to prevent your child from pulling your earrings :)


Still stuck? Checkout my Pinterest board!

I recommend going to Pinterest for more inspiration and ideas! You can also checkout my Spring and Summer Wardrobe Guide and my Fall and Winter Wardrobe Guide. Pinterest is a great place to help you get a feel for colors and patterns you love as well as trends you like!

Lastly, please don't be shy to ask me for help! As your family photographer, you are always welcome to bounce ideas with me :) Have fun, and I hope this helps you feel prepared, confident, and excited for your session!

-Genevieve

5 Simple Tips on Making a Photo Album | Raleigh Family Photographer

Does anyone else struggle with organizing their photos after a trip? Seriously, what do you DO with all your photos? We just finished up the holidays about a month ago and many of you traveled and saw family. Like most people, you probably took photos during the trip and left them on your phone with plans to get to them later...and end up forgetting about them! I totally get it and admit that I recently finished making our honeymoon album and it took me OVER A YEAR to get to it!

That's why I wanted to share some tips that might make photo organization a little easier for you. Here are some time-saving strategies on how you can make a meaningful photo album efficiently and without breaking the bank!

1. Collect all your photos as soon as possible.

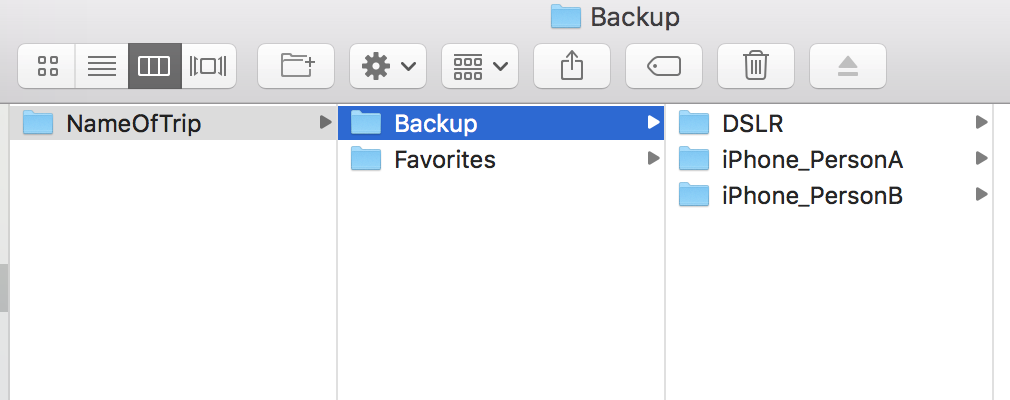
After your trip, try to collect all your digital photos in one place as soon as you can. The longer you delay, the less likely you'll get to them! Gather photos from your phone, your spouse's phone, and your DSLR or other camera if you used one, and store them all into one folder. Then make two subfolders, one called, "Backup" and another called, "Favorites" as seen in the photo below. Your Backup folder will be where you keep the original copy of your photos, and the Favorites folder will be the ones you want to print.

So now the question is: how do you narrow down your favorites? Read my next tip!

 
Demo.png
 

2. Choose 20% of your photos to print.

Personally I've found 20% to be a good rule of thumb to follow because it's just the right amount to tell your story without losing any details or being overwhelming. For example, if you went on a short weekend trip and took 100 photos, pick 20 to print. Or if went on a longer vacation and took 500 photos, choose 100 images. Why? Because less is more. You don't need to put every single photo in the album. It can become overwhelming and too long!

3. Buy a traditional photo album at Michaels, Target, or Amazon.

Y'all, if you're making an DIY photo album, I think making a traditional album is faster than making a photo book online (e.g., Shutterfly or Mixbooks). You don't have to spend time designing or editing your layout online, nor do you have to waste time waiting for the program to reload every time you swap out an image or make an edit.

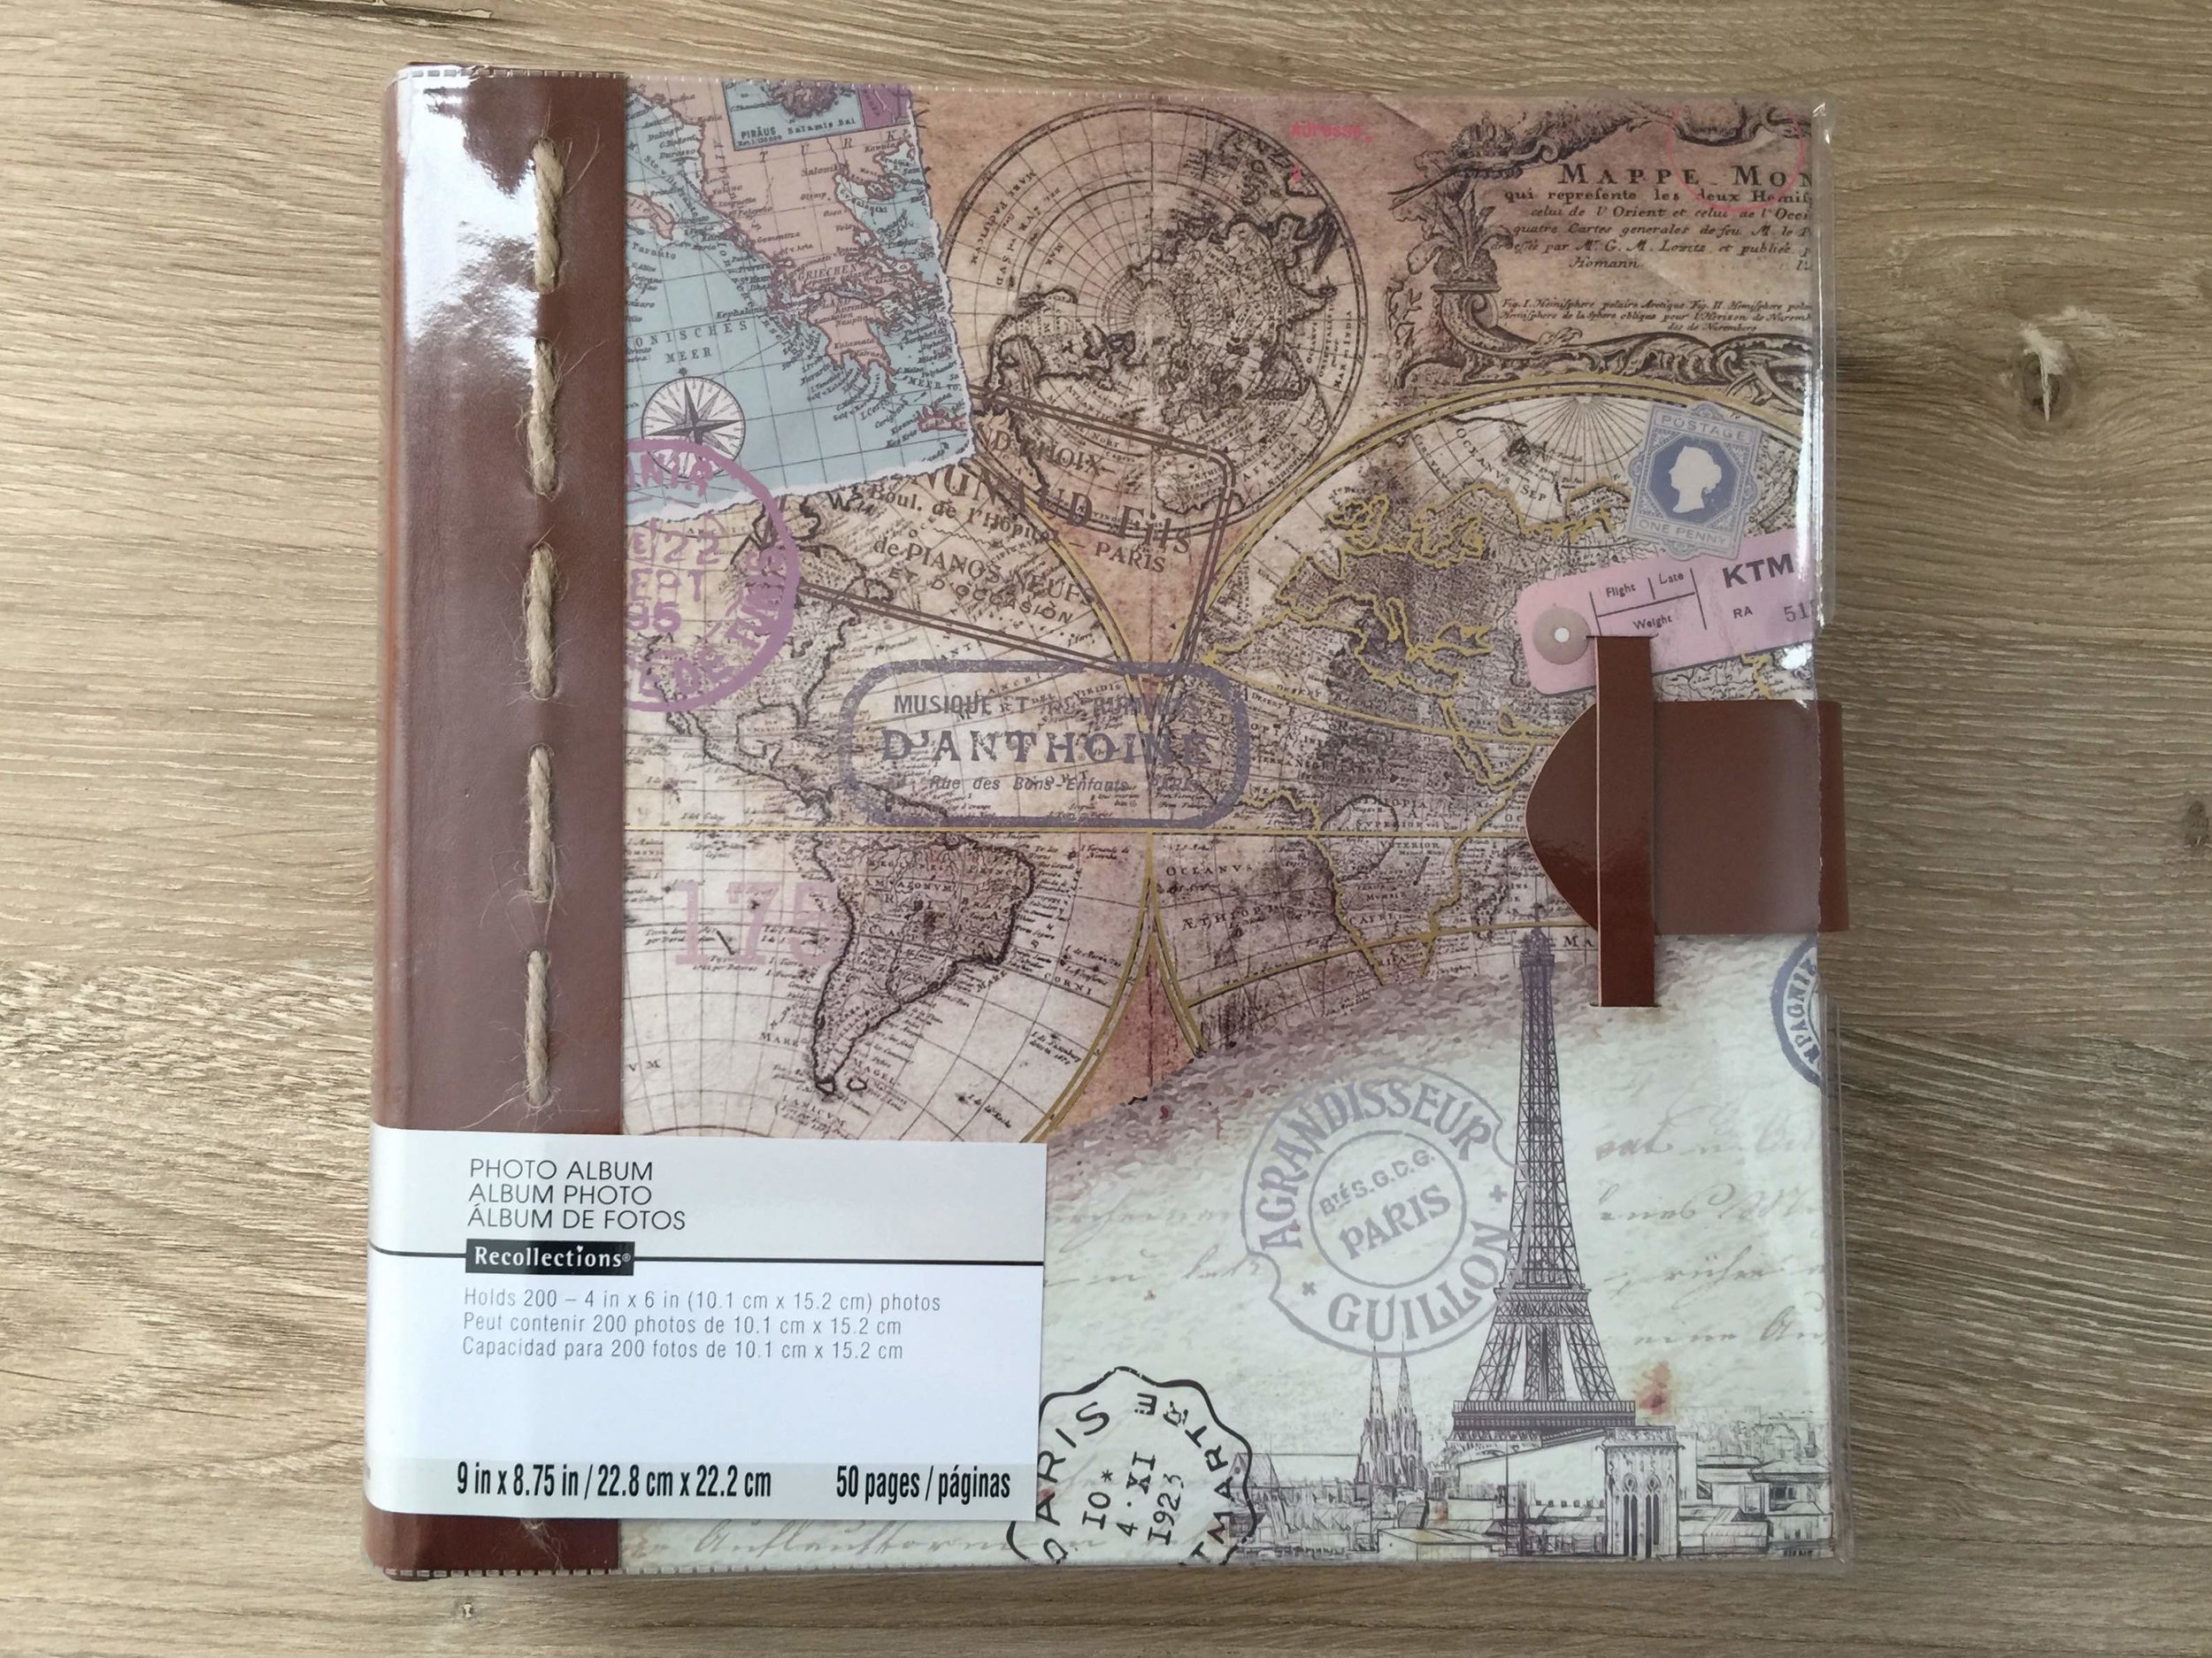
For me, I went to Michaels to buy a classic album with the 4x6 slip pockets because they usually have decent supplies for DIY projects. They also offer coupons frequently, so I used my 50% off coupon and got this album for about $8! Target and Amazon also provide some good album options if you want to explore more designs.

 
This is the cover of the photo album I bought. I thought the travel theme was fitting!

This is the cover of the photo album I bought. I thought the travel theme was fitting!

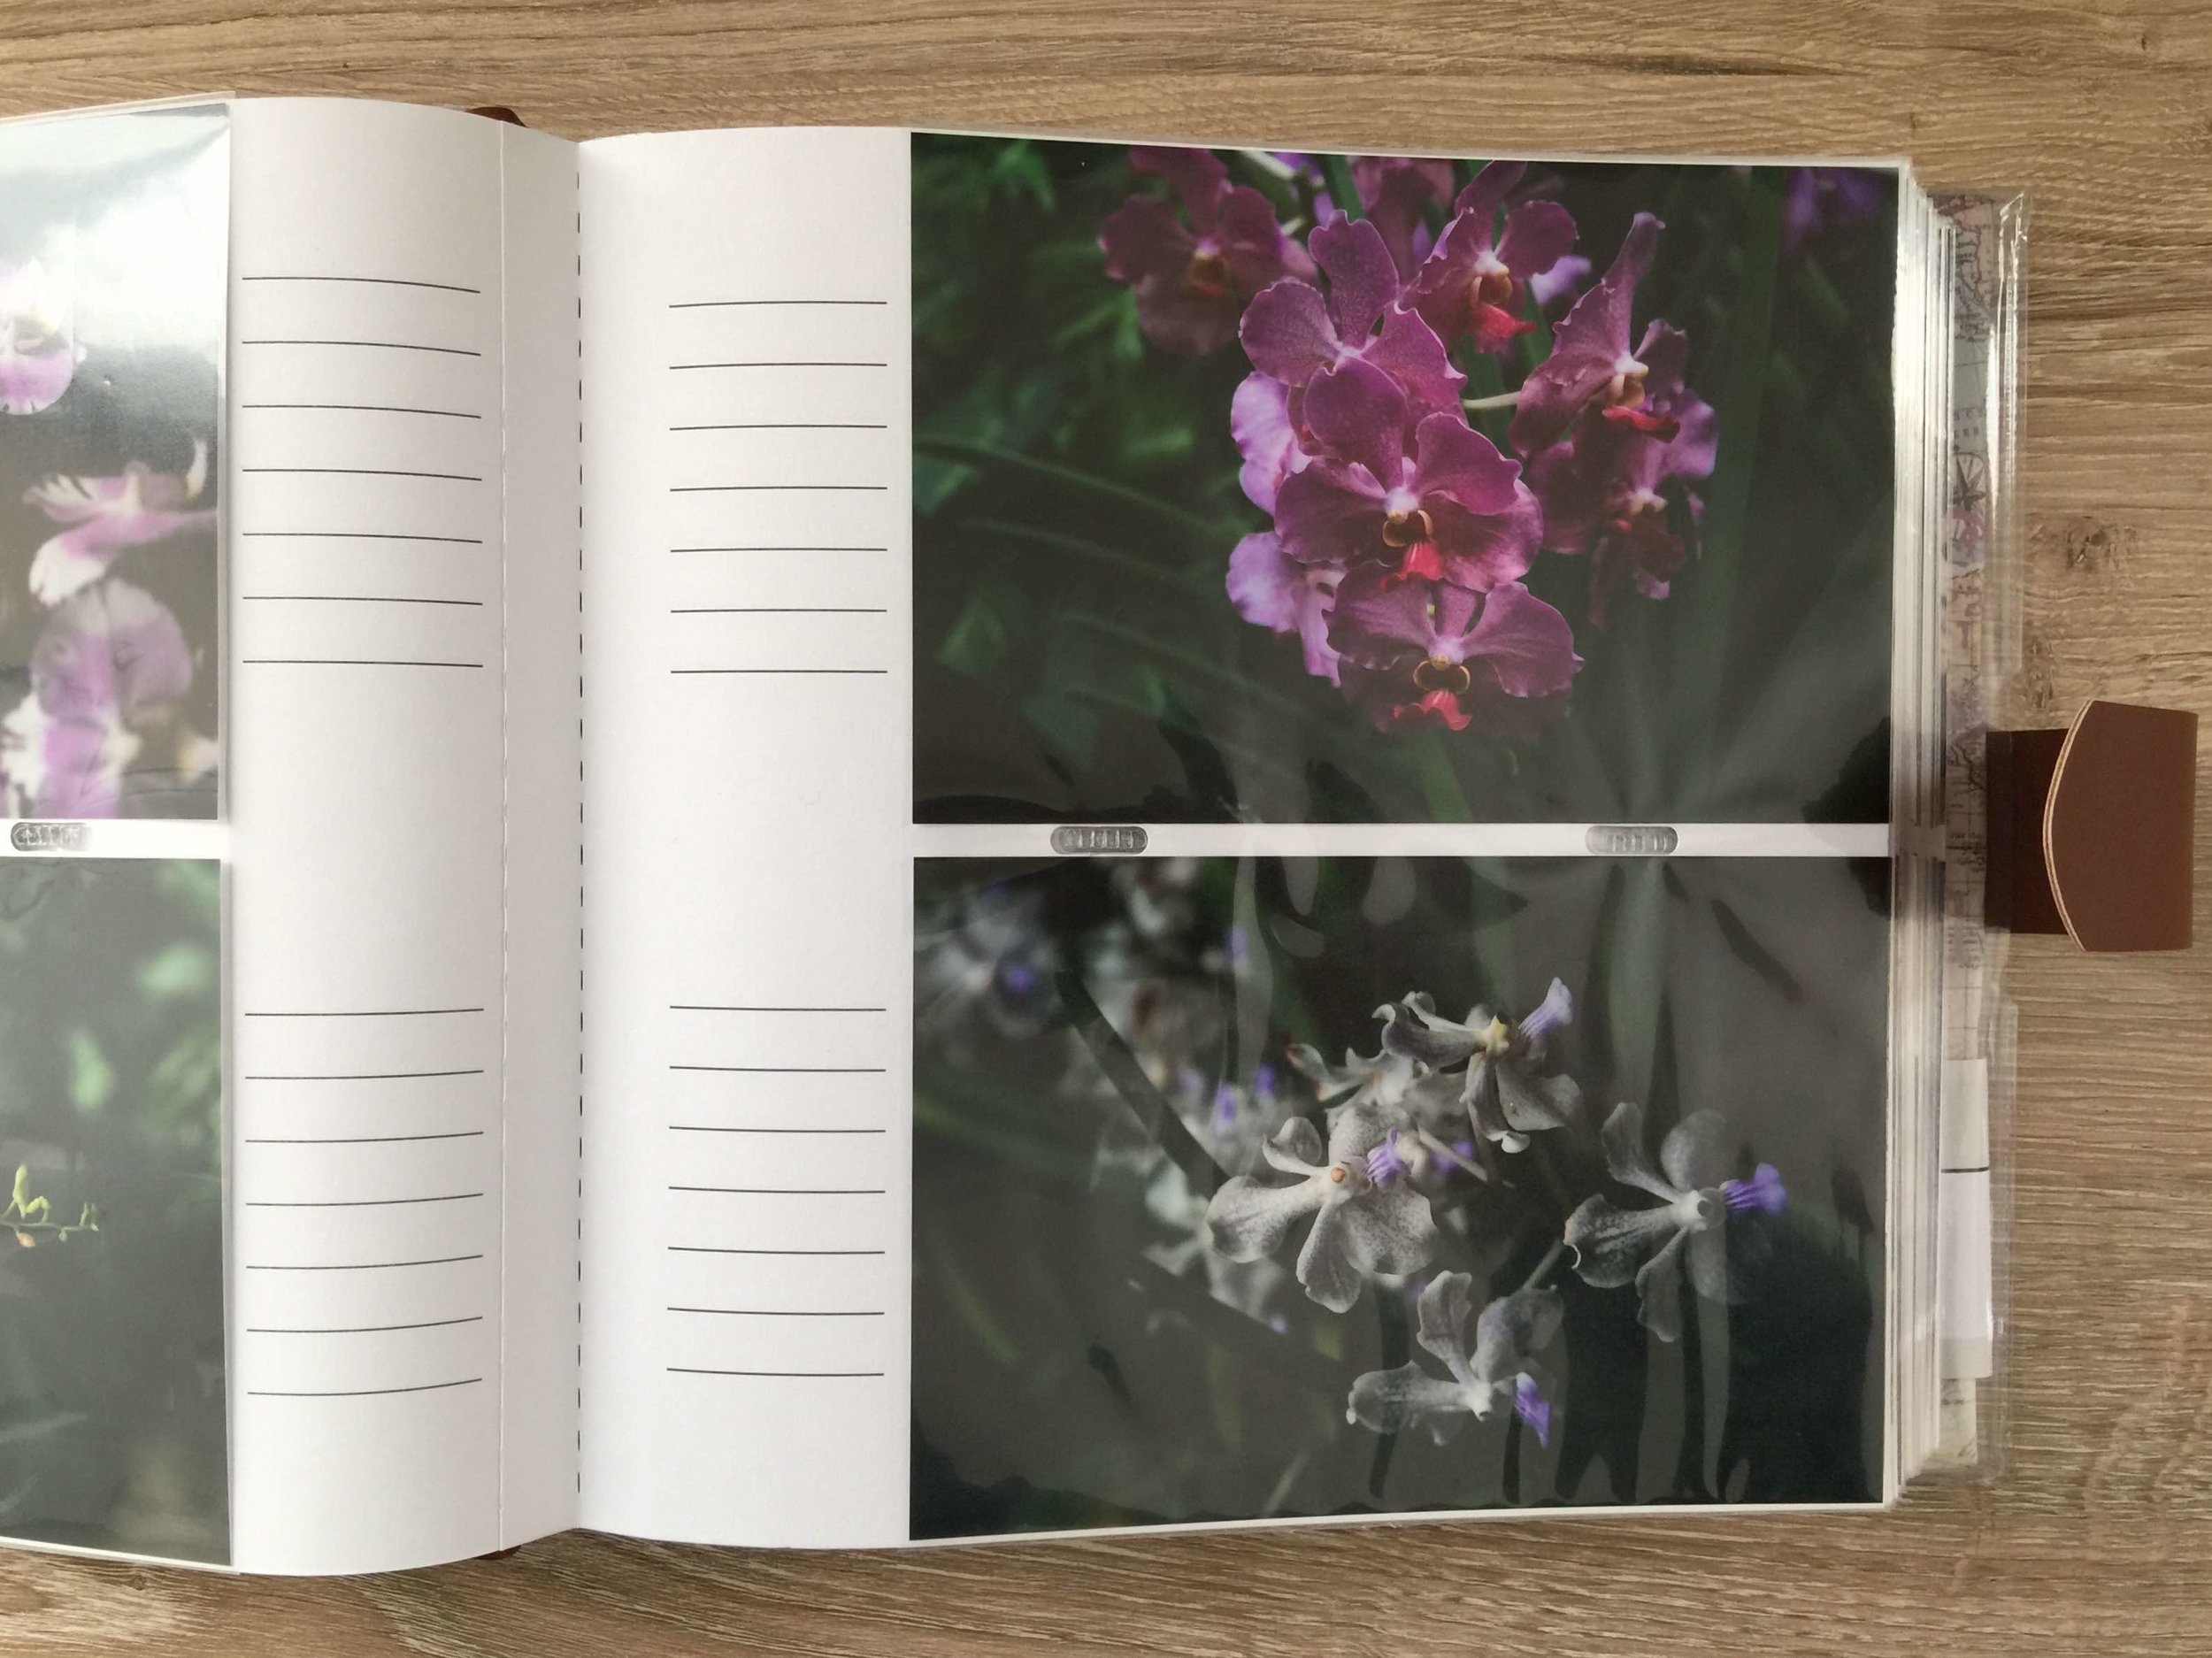
This is what the album looks like on the inside. It includes 4x6 slip pockets, which I like for easy assembly and clean design.

This is what the album looks like on the inside. It includes 4x6 slip pockets, which I like for easy assembly and clean design.


4. Choose Mpix.com as your photo lab.

I've tested a lot of photo labs from consumer labs to professional labs, and I'd say Mpix is one of the best consumer labs for printing everyday photos. I printed my photos on the E-Surface Paper, which is their most popular photo paper. They describe the paper to have "accurate color, lifelike skin tones, archival quality and a traditional photo finish" and I can confirm that it's TRUE! My prints come out true to color, and the quality is comparable to the professional labs I use for client projects. I also like the traditional photo finish, which has a nice sheen as seen in the photo below.

If you're interested to sign up and try Mpix out, you can click here on my referral link and get a $5 coupon!

 
Printed image
 

5. Display your photo album on the coffee table. 

So what do you do after you get your prints and album, and assemble it all together? I suggest keeping it on the coffee table! Trust me, people LOVE looking at photos! Next time you have a guest, see if they pick up your album...I bet there's a high chance they'll pick it up and tell you how much they love it!

Remember your photos are more than photos. They are memories. They are the moments in your life you don't want to forget. They are the ones that bring a smile to your face. Isn't that worth displaying in your house?

Now go on and print those photos, and keep those memories alive!

Do you have any tips to share? Share them in my NEW Facebook Group! It's a community for people who want to chat about photography and get more tips and education!